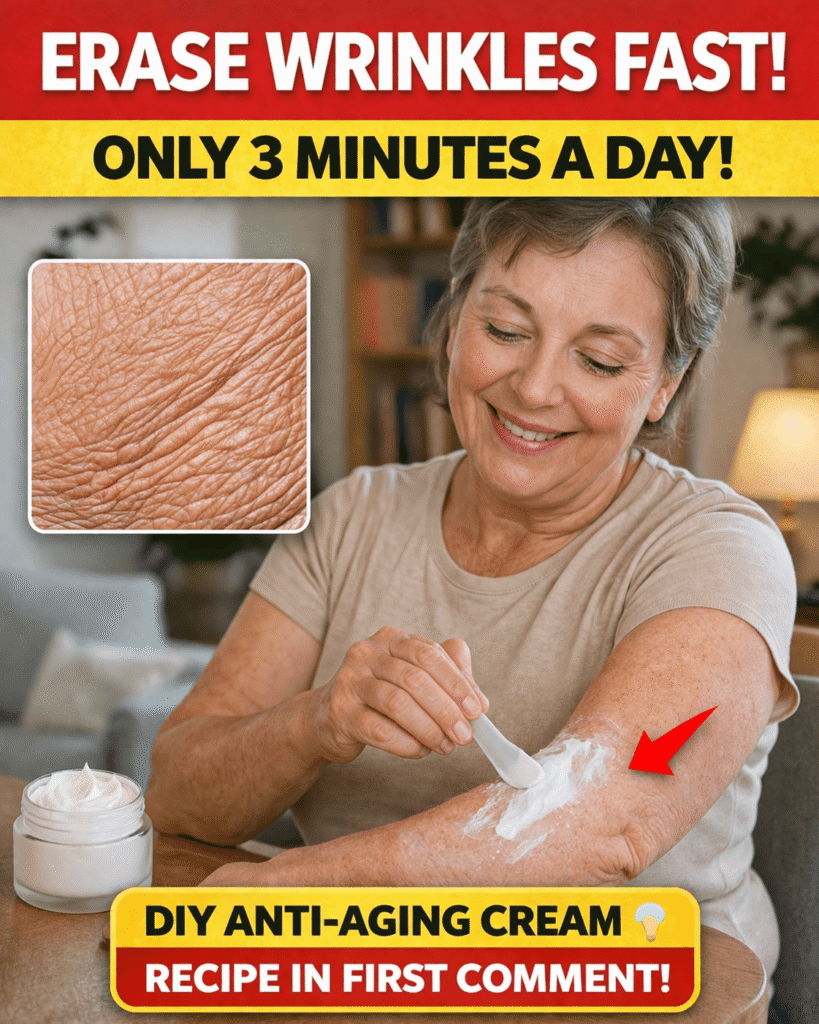
A Simple Natural Moisturizing Cream for Mature Skin
As skin gets older, it often loses some of its natural softness and moisture. Dryness can become more noticeable, and the complexion may not look as plump or radiant as before. For many people, this creates an ongoing search for skincare that is both effective and budget-friendly.
That is why natural skincare options are so appealing. Instead of depending only on costly beauty products, you can make a nourishing homemade moisturizer with easy-to-find ingredients. Even better, this DIY cream is quick to prepare and simple to use every day. Later in this guide, you will find the full recipe, step-by-step instructions, and practical tips to help you start right away.
Why Natural Moisturizing Matters for Mature Skin
Aging skin has different needs than younger skin. As time passes, the body produces less oil, and the skin barrier may become less efficient at holding moisture. This can lead to dryness, tightness, and a rougher texture. While this is a normal part of aging, a good moisturizing routine can help skin feel more comfortable and look healthier.
One reason many people prefer homemade skincare is the control it offers. When you make your own cream, you know exactly what goes into it. This can help you avoid unwanted additives or harsh ingredients sometimes found in store-bought formulas.
In many cases, a consistent daily routine is more valuable than complicated skincare trends. A basic moisturizer used regularly can go a long way in improving how mature skin feels and appears.
How Natural Ingredients Help Support Skin Hydration
Several natural oils and butters are widely appreciated for their ability to nourish dry skin and reinforce the moisture barrier. They are especially useful in simple skincare recipes because they offer softness, richness, and protection.
Shea butter is a popular choice because it contains fatty acids and vitamins that help smooth and soften the skin. Its rich texture makes it ideal as the foundation of a moisturizing cream.
Coconut oil is often used to help reduce moisture loss. It creates a protective layer on the skin and works particularly well for people dealing with dryness.
Jojoba oil, often used in natural skincare, closely resembles the skin’s own sebum. This makes it a gentle option for regular use and a favorite for those who want lightweight hydration.
Vitamin E oil is commonly included for its antioxidant properties. It may help defend the skin from environmental stress and can also support the freshness of homemade skincare blends.
Of course, every person’s skin responds differently. These ingredients are best viewed as supportive additions to a skincare routine, mainly valued for their moisturizing and nourishing effects.
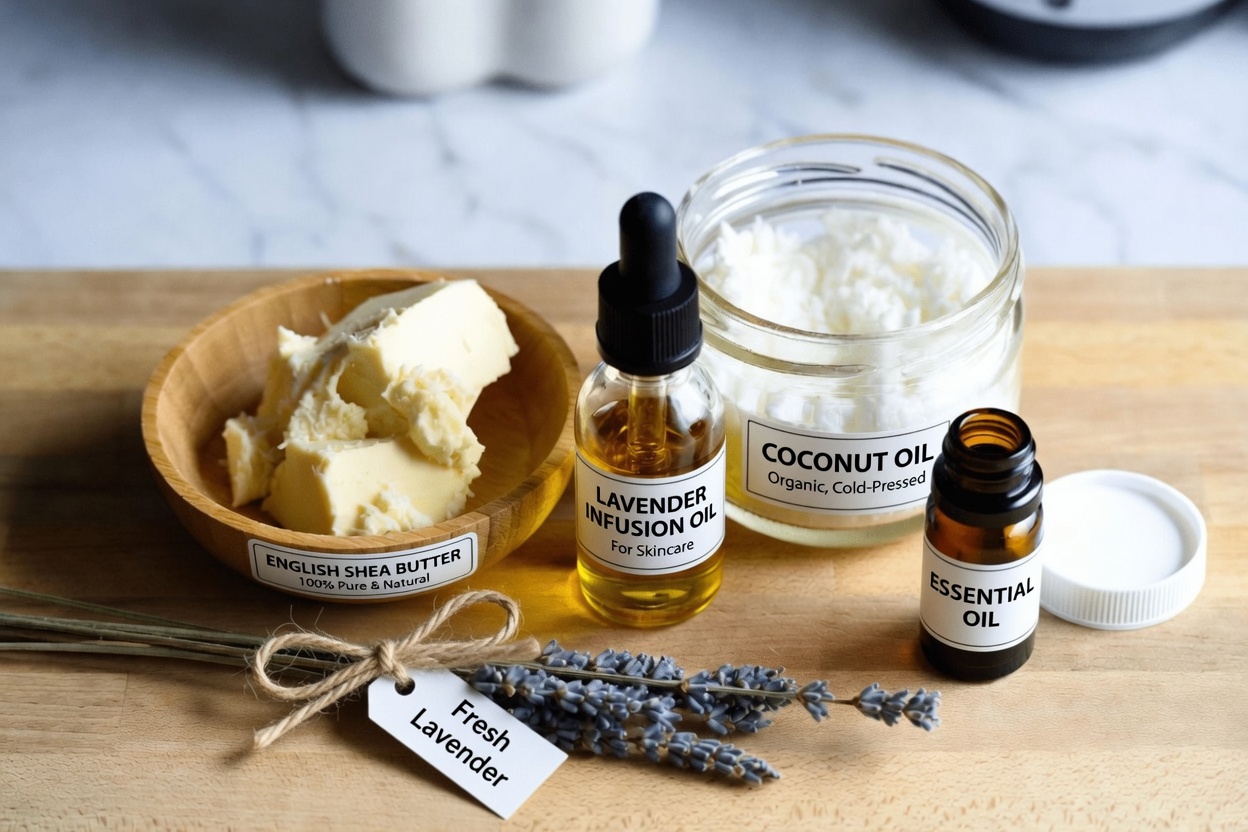
Ingredients for a DIY Moisturizing Cream
This easy recipe yields about 4 to 6 ounces of cream. It uses shea butter as the main ingredient, creating a smooth and creamy texture that many people enjoy for everyday moisturizing.
What you need
-
1/2 cup unrefined shea butter
Creates the rich base and delivers deep moisture -
1/4 cup virgin coconut oil
Adds smoothness and helps seal in hydration -
1 teaspoon vitamin E oil (optional)
Offers extra nourishment and may help extend shelf life -
8 to 10 drops lavender essential oil (optional)
Adds a light, calming scent; always patch test before use
These ingredients are usually easy to find at health food stores, supermarkets, or online. When possible, choose high-quality or organic versions for the best results.
Why this blend works so well
- Shea butter provides the creamy structure and helps lock in moisture
- Coconut oil adds a lighter protective layer to reduce dryness
- Vitamin E supports the formula and contributes skin-friendly benefits
- Essential oils, if included, can make the cream more pleasant to use without overwhelming it
Together, these ingredients create a soft, spreadable moisturizer that feels rich but can still absorb comfortably into the skin.
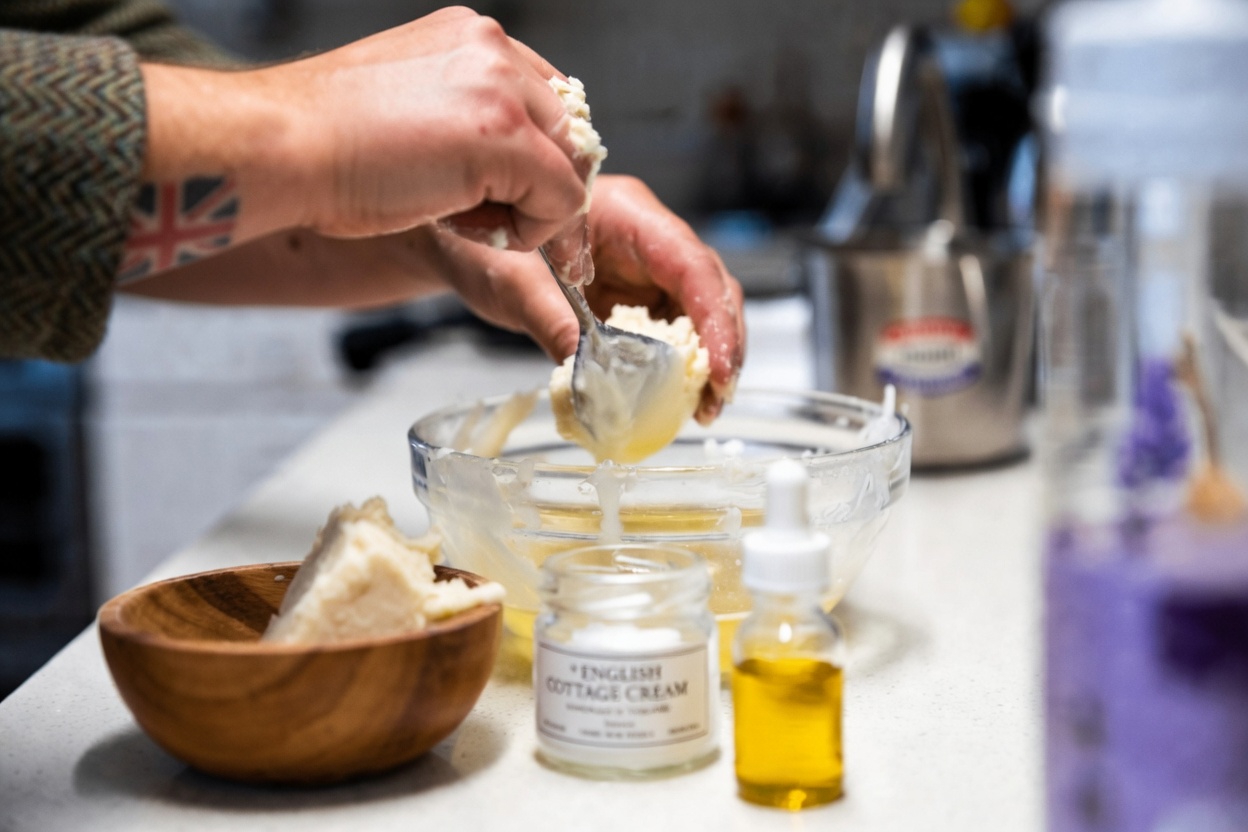
Step-by-Step Instructions to Make the Cream
This homemade cream is easy to prepare and does not require advanced tools. A double boiler or a microwave-safe bowl is enough. From beginning to end, the process usually takes only 15 to 20 minutes.
1. Gather your ingredients and tools
Measure everything in advance. Prepare a clean glass jar for storage, preferably a dark one to help protect the cream from light exposure.
2. Melt the base ingredients
Place the shea butter and coconut oil in a heat-safe bowl over simmering water using the double boiler method. You can also microwave them in 20-second intervals, stirring between each round until fully melted.
Do not overheat the mixture.
3. Stir in the vitamin E
Once the oils are melted and combined, remove the bowl from the heat. Let it cool briefly for about a minute, then mix in the vitamin E oil.
4. Add essential oil if desired
If you want a light fragrance, stir in the lavender essential oil at this stage.
5. Let it cool and thicken
Pour the mixture into your storage jar. Allow it to cool at room temperature, or place it in the refrigerator for 10 to 15 minutes to speed up the process.
If you prefer a whipped texture, use a hand mixer once the mixture begins to firm up.
6. Store it correctly
Keep the cream in a cool, dark place. Depending on how it is stored and whether vitamin E is included, it should remain usable for about 3 to 6 months.
One of the biggest benefits of making your own moisturizer is knowing exactly what you are putting on your skin.
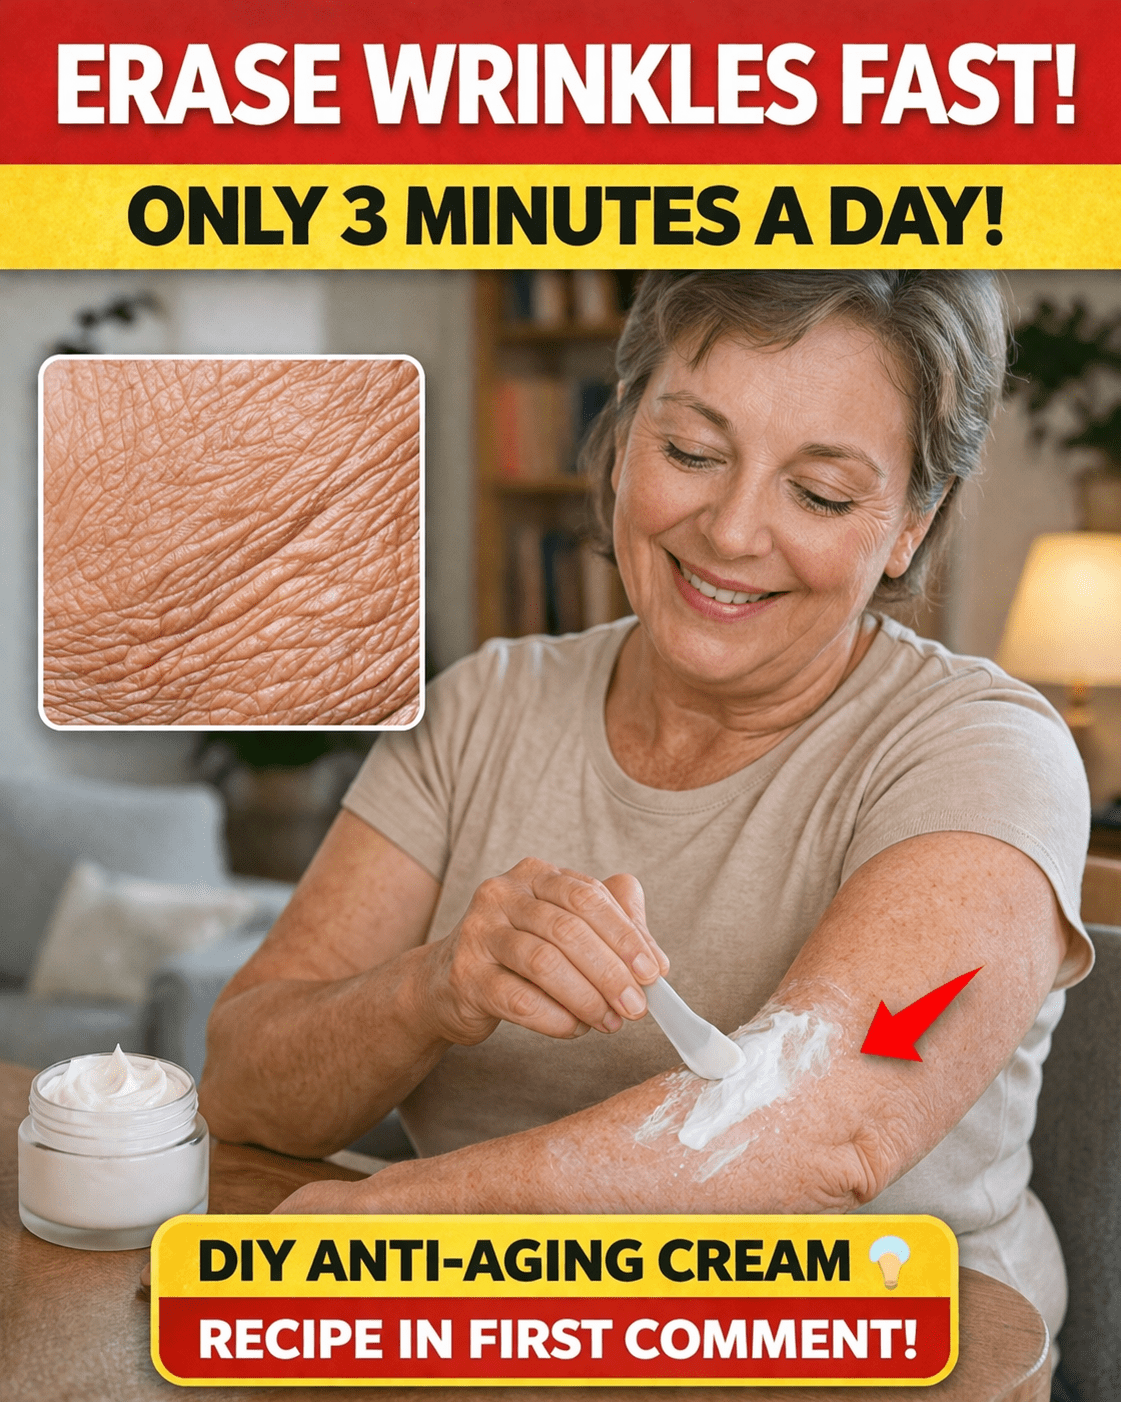
A Quick 3-Minute Daily Routine
The best skincare routine is one you can actually maintain. This moisturizer is designed to fit easily into daily life, even if you have a busy schedule.
Simple application routine
-
Cleanse gently
Wash your face or skin with a mild cleanser or plain water. This should take about 1 minute. -
Use a small amount
Scoop out a pea-sized amount for the face, or slightly more for the neck, arms, or hands. -
Warm and apply
Rub the cream between your palms, then massage it into the skin using gentle upward motions for 1 to 2 minutes, focusing on dry areas.
That is all it takes. Once you get used to the process, the entire routine can be done in about 3 minutes.
Many people like to apply the cream morning and night to maintain hydration throughout the day and while sleeping.
Helpful tip
Keep the jar near your sink or bedside table. This makes it easier to remember and turns moisturizing into a natural part of your day. For hands and arms, applying it after washing can feel especially comforting.
Extra Tips for Healthier-Looking Skin
A homemade moisturizer works best when combined with other skin-friendly habits. Small daily choices can make a meaningful difference over time.
Important skincare tips
-
Patch test first
Apply a tiny amount to the inside of your arm and wait 24 hours to check for irritation, especially if you use essential oils. -
Stay hydrated
Drink enough water throughout the day to support overall skin health. -
Eat nourishing foods
Healthy fats from foods like avocados, seeds, and nuts may help support the skin from within. -
Protect skin from the sun
Use a broad-spectrum SPF during the day to help reduce damage from UV exposure. -
Choose lukewarm showers
Hot water can strip away natural oils and worsen dryness. -
Dry skin gently
Pat your skin with a towel instead of rubbing. -
Be consistent
Use your cream regularly as part of a simple routine. If your skin tolerates it, gentle exfoliation once or twice a week may also help.
Daily habits that pair well with your moisturizer
- Aim for 7 to 9 hours of quality sleep each night
- Reduce stress with calming habits such as walking or deep breathing
- If your skin is very sensitive, leave out the essential oils and use only the base formula
Frequently Asked Questions About Homemade Skin Cream
How long does homemade moisturizer last?
In most cases, it stays fresh for 3 to 6 months when stored in a cool, dark place. If you notice changes in smell, texture, or color, it is best to discard it and make a new batch.
Can this cream be used on the face?
Yes, many people use it on the face, neck, and hands. Start with a small amount and observe how your skin reacts. Although the formula is generally gentle, every skin type is different.
Can I change the recipe?
Yes. Some people replace part of the coconut oil with jojoba oil for a lighter feel. Others add a little aloe vera gel if they want a less heavy texture. Make changes slowly and always keep safety in mind.
Final Thoughts: An Easy Upgrade to Your Skincare Routine
Making your own natural moisturizing cream is a simple and empowering way to care for mature skin. It gives you control over the ingredients, fits easily into a daily routine, and can help relieve dryness without requiring expensive products.
With just a few natural ingredients and a few minutes each day, you can create a skincare habit that feels practical, soothing, and effective. Sometimes the best routine is not the most complicated one, but the one you can stick with consistently.