Revitalizing Thinning Hair After 40 with a DIY Ayurvedic-Inspired Hair Oil
Many adults notice their hair becoming finer, more fragile, or slower to grow once they pass 40. Age-related hormonal shifts, lower scalp circulation, inflammation, and nutrient gaps can all leave hair follicles under pressure. Over time, this can show up as a widening part, sparse ponytails, or areas you feel you need to conceal.
This DIY Ayurvedic-inspired hair oil recipe uses simple ingredients you probably already have in your kitchen. It is designed to gently support the scalp, encourage circulation, and deliver nourishing compounds without relying on harsh chemicals. While thinning hair can take a toll on confidence, creating a soothing, at-home ritual like this can be both emotionally grounding and potentially supportive for your scalp and strands.

Why Hair Thinning Often Hits Harder After 40 – And Why Gentle, Natural Care Matters
Stress, fluctuating hormones, changing diet, and lifestyle shifts can silently impact your hair follicles. You might notice:
- More hair in your brush or shower drain
- Slower regrowth at the hairline or crown
- A general feeling of “flatness” or lack of volume
Many commercial hair products focus only on the hair shaft, overlooking the health of the scalp itself. This DIY Ayurvedic-inspired hair oil recipe takes the opposite approach: it centers on scalp circulation, nourishment, and a calming self-care ritual.
Take a quick self-check: on a scale of 1–5, how often do you notice increased shedding or slower regrowth that causes you stress? If you’re looking for a more holistic, natural approach, traditional-inspired remedies using accessible ingredients may be a valuable addition to your routine.
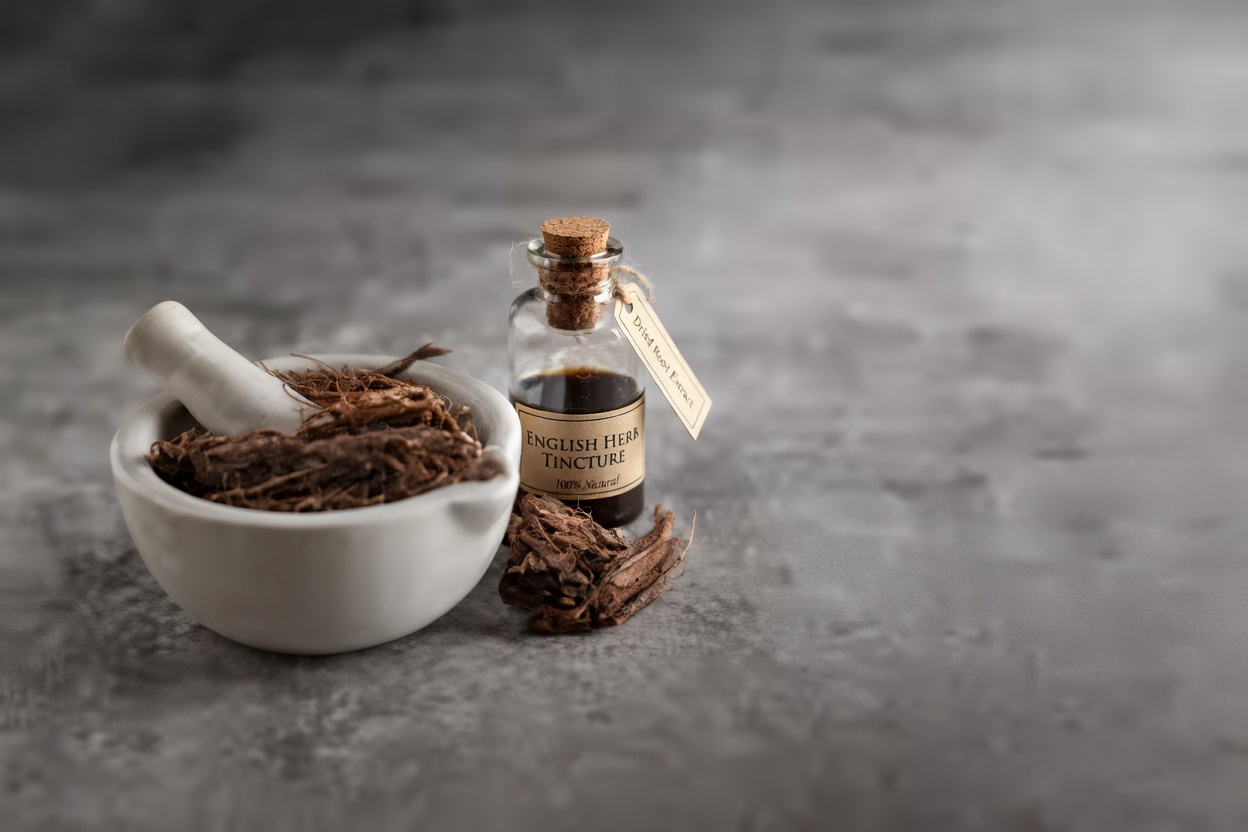
Drawing on Tradition: The Idea Behind This DIY Ayurvedic-Inspired Hair Oil
Inspired by Ayurvedic principles, this recipe blends warming spices, nutrient-dense seeds, herbs, and carrier oils to create a multi-benefit hair oil. The goal is simple: support scalp comfort and circulation while feeding the hair roots with key nutrients.
Imagine gently massaging a warm, aromatic oil into your scalp, feeling a mild tingle as the ingredients get to work. Many people reach for such remedies when conventional products promise thickness but don’t deliver noticeable results.
On a scale of 1–10, how curious are you right now about experimenting with natural, DIY hair care?
Key Ingredients and How They May Support Your Hair
Ginger: A Natural Boost for Scalp Circulation
If thinning at the crown or along the part line makes styling difficult, ginger might be especially interesting to you. In this DIY Ayurvedic-inspired hair oil recipe, fresh ginger is used for its warming, circulation-supporting properties.
- Ginger’s active compounds may help stimulate blood flow around the follicles.
- It contains fatty acids that can contribute to a more nourished feel.
- When infused into oil, ginger often creates a gentle heat sensation during massage.
Fresh ginger is preferred here for maximum potency and aroma. After learning about ginger, how would you rate your scalp’s current condition on a scale of 1–10?
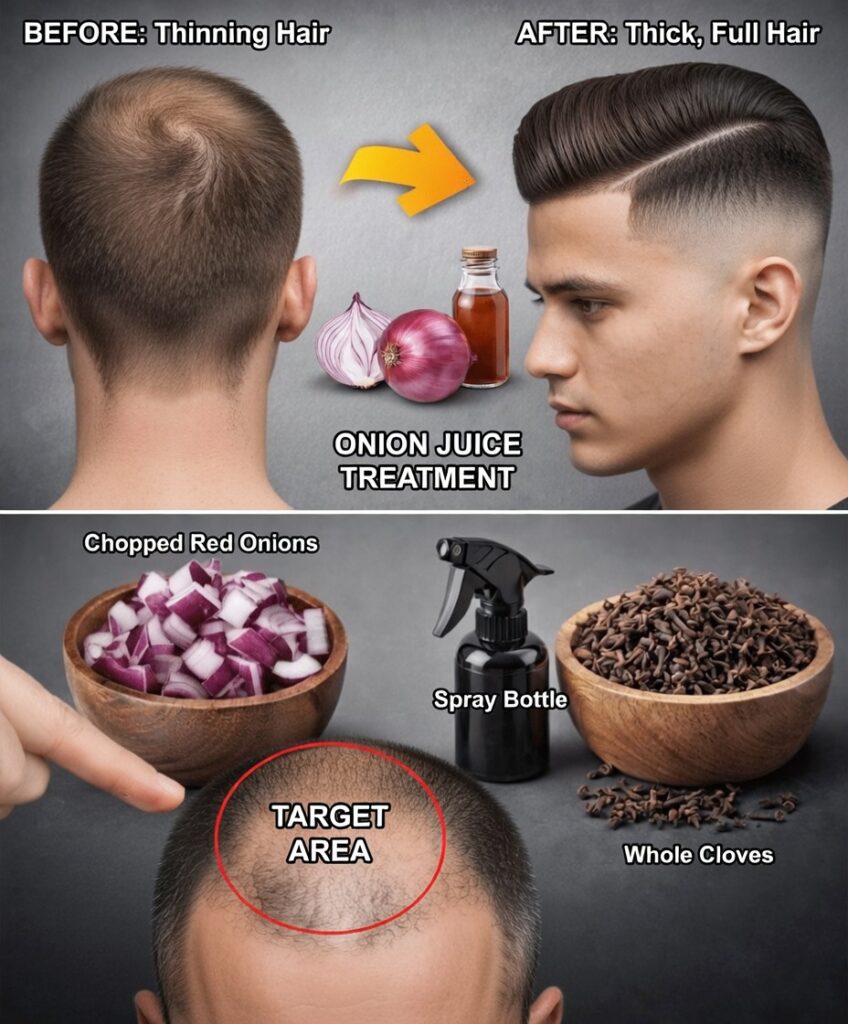
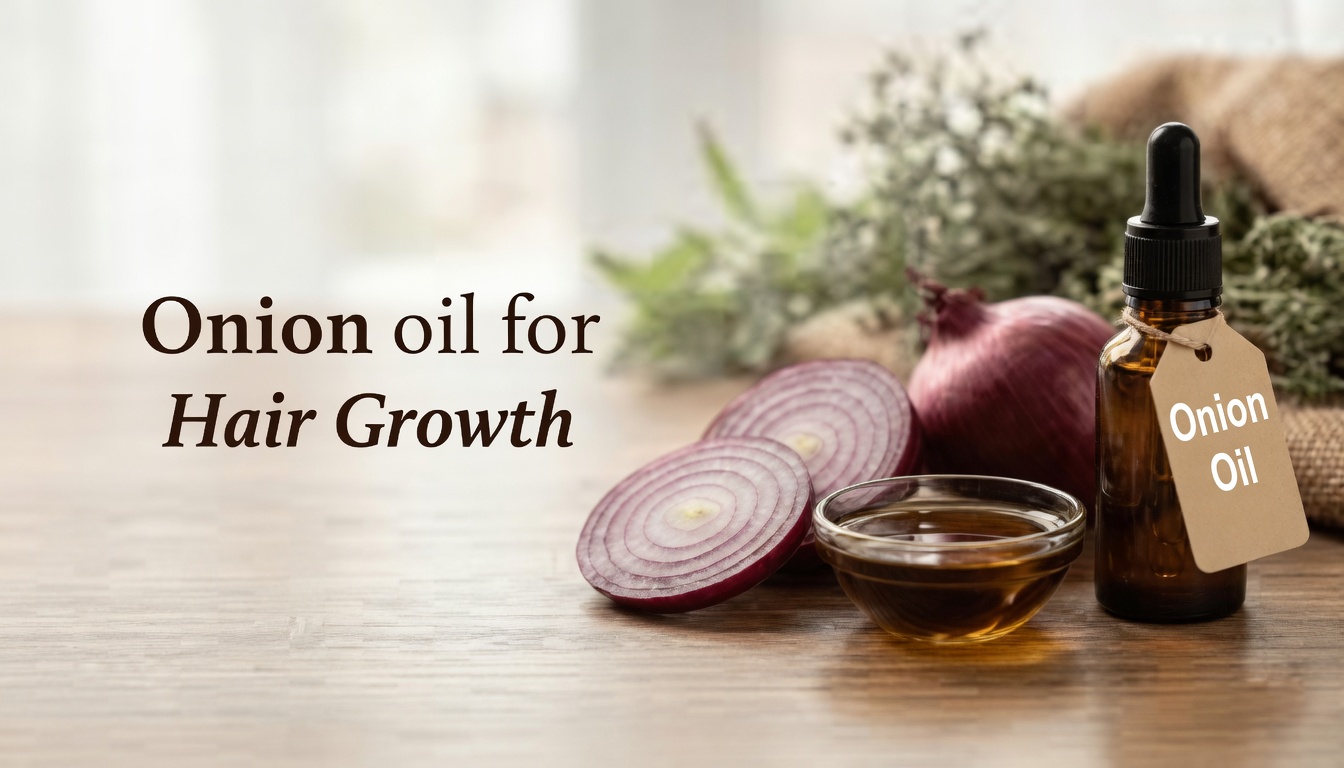
Onion: Sulfur-Rich Support for Stronger-Looking Strands
If breakage and weak roots make your hair look dull or lifeless, onion may be a powerful addition. In this DIY Ayurvedic-inspired hair oil recipe, onion is included for its sulfur content.
- Sulfur plays a role in the structure of keratin and collagen, key proteins in hair and skin.
- Some early research on onion-based preparations suggests potential benefits for regrowth in certain situations.
- Many people anecdotally report that onion-infused oils help hair feel stronger over time.
By incorporating chopped onion into the infusion, you add a sulfur-rich element that targets the foundation of the hair. Right now, how would you rate your hair’s strength on a scale of 1–10?
Flaxseeds & Cloves: Nutrient Allies for Scalp Comfort
Dry, itchy, or irritated scalp can worsen anxiety around thinning hair. Flaxseeds and cloves play complementary roles in this recipe:
- Flaxseeds provide vitamin E and omega fatty acids that may support overall scalp health and shine.
- Cloves contain eugenol, a compound known for its soothing and antioxidant properties.
Together, these ingredients can help create a more balanced scalp environment, which is important when daily stress and styling habits have taken a toll.
Carrier Oils: Helping Actives Reach the Follicles
Active ingredients like ginger and onion need a good base to carry them to the scalp effectively. This DIY Ayurvedic-inspired hair oil recipe uses three common kitchen oils:
- Coconut oil: Known for its ability to penetrate the hair shaft and help reduce protein loss.
- Olive oil: Rich in antioxidants and emollients that can soften and condition.
- Almond oil: Lightweight and moisturizing, suitable for adding smoothness and shine.
Many people notice their hair feels softer, more manageable, and less frizzy when they switch to a blend like this instead of harsh, drying products.
Calming Essential Oils: Lavender & Chamomile
Stress is a major factor in how we experience hair thinning. Lavender and chamomile essential oils add both aromatic and potential topical benefits:
- Lavender oil has been studied for its potential to support a balanced scalp environment.
- Chamomile oil is often used for its soothing, comforting properties.
Beyond any topical effects, the gentle scent can make the massage feel like a mini spa ritual, helping ease tension around hair loss worries.
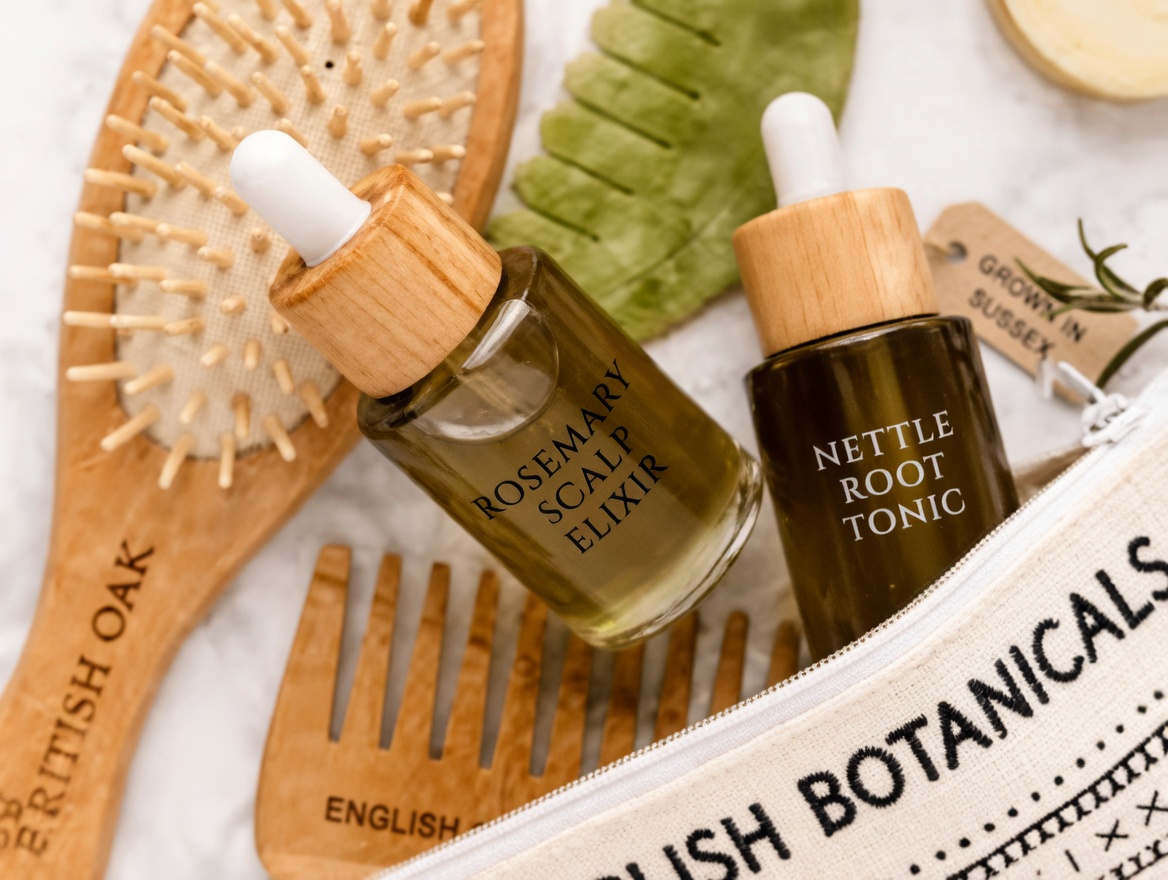
Herbal Rinse: Rosemary & Bay Leaf for a Refreshing Finish
After oiling, buildup can sometimes leave hair feeling heavy if not washed out properly. That’s where the companion herbal rinse comes in:
- Rosemary leaves are traditionally used to invigorate the scalp and may support circulation.
- Bay leaves add a light, refreshing aroma and botanical complexity.
- Optional onion peels can provide an extra touch of sulfur-rich support.
Using this herbal rinse after shampoo helps clarify the scalp while leaving a gentle tingle and a cleaner, lighter feel.
Mid-Article Check-In: Quick Quiz
Before you dive into making the recipe, pause and reflect:
- What are two core base ingredients in this oil?
- Ginger and onion.
- What is your number one hair goal right now?
- More volume, less shedding, faster regrowth, or something else? Write it down.
- Which carrier oils do you already have at home (coconut, olive, almond, or others)?
- Since starting this article, has your sense of hope or curiosity about natural hair care increased?
- Are you ready to follow the full step-by-step recipe?
If your answer to #5 is “yes,” the practical part starts now.
Step-by-Step: How to Make This DIY Ayurvedic-Inspired Hair Oil at Home
This recipe is straightforward and uses familiar ingredients, making it easy to integrate into your weekly routine.
Ingredients for the Hair Oil (about 1 cup)
- 120 g fresh ginger, grated
- 1 medium red onion, chopped
- 2 tablespoons flaxseeds
- 8–10 whole cloves
- 1/2 cup coconut oil
- 1/4 cup olive oil
- 1/4 cup almond oil
- 5 drops lavender essential oil
- 5 drops chamomile essential oil
Ingredients for the Herbal Rinse
- 1 small handful fresh or dried rosemary leaves
- 3–4 bay leaves
- Optional: a few clean onion peels for extra sulfur content
- About 2 cups water
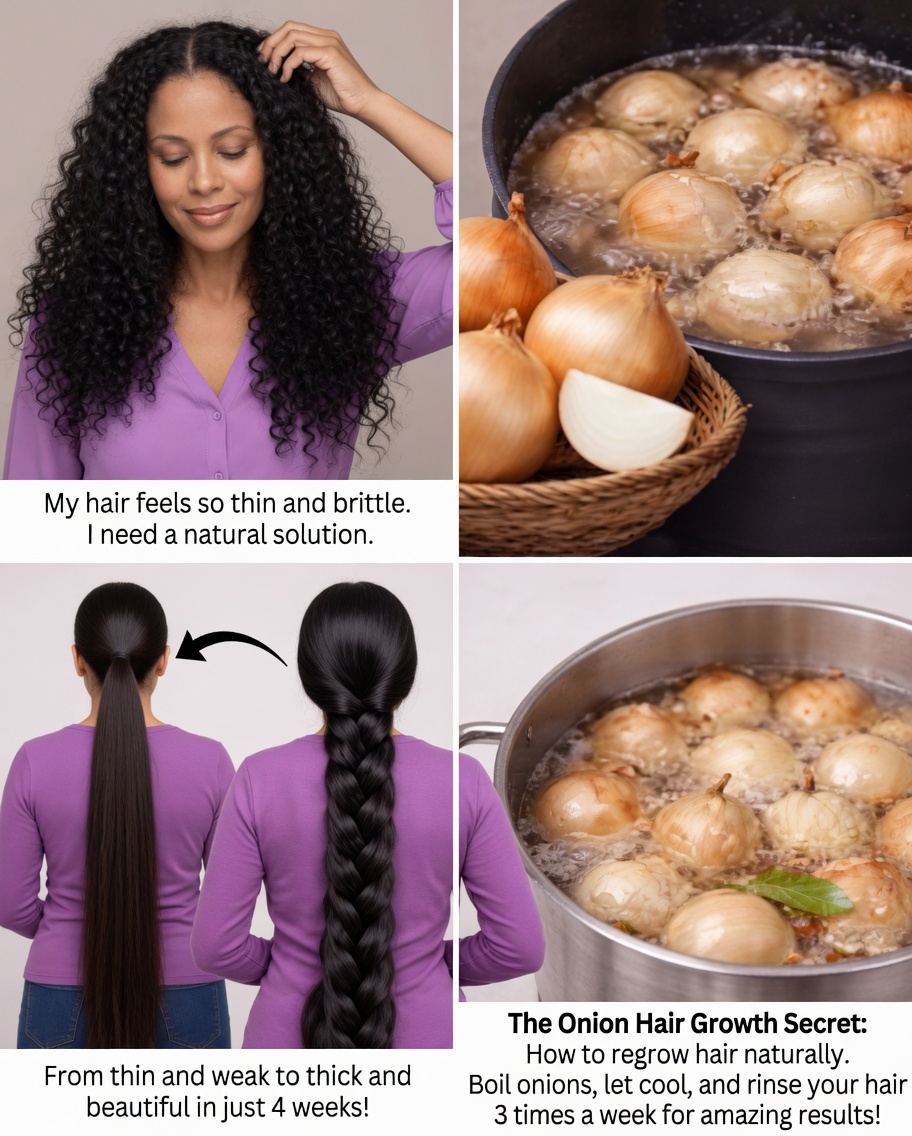
Directions: Preparing the Oil
-
Combine the base ingredients
Add coconut, olive, and almond oil to a small saucepan. Stir in the grated ginger, chopped onion, flaxseeds, and whole cloves. -
Infuse on low heat
Warm the mixture over very low heat for 10–15 minutes. Do not let it boil. You want a gentle infusion, not frying. -
Cool and strain
Remove from heat and allow the oil to cool completely. Strain through a fine mesh sieve or cheesecloth into a clean bowl to remove solids. -
Add essential oils
Once fully cooled, mix in the lavender and chamomile essential oils. -
Store properly
Transfer the finished oil to a dark glass bottle or jar. Store it in a cool, dry place away from direct sunlight.
Directions: Preparing the Rosemary & Bay Leaf Rinse
- Add rosemary, bay leaves, and optional onion peels to a small pot with 2 cups of water.
- Bring to a gentle boil, then reduce to a simmer for about 10 minutes.
- Turn off the heat, let it cool, and strain out the herbs.
- Transfer the liquid to a spray bottle or jar for easy use after washing.
How to Use Your DIY Ayurvedic-Inspired Hair Oil
For best potential results, consistency matters more than intensity. Aim to:
-
Apply the oil 1–2 times per week
Part your hair into sections and massage a small amount into your scalp using your fingertips. -
Massage thoroughly
Use gentle circular motions for 5–10 minutes to encourage circulation and help the oil absorb. -
Leave it on
Keep the oil on for at least 1 hour. For deeper treatment, leave it overnight and cover your hair with a shower cap or towel. -
Wash with a mild shampoo
Use a gentle cleanser to remove the oil without stripping your scalp. -
Finish with the herbal rinse
After shampooing (and conditioner if you use it), apply the rosemary–bay leaf rinse as a final step. Either pour it over your scalp and hair or spray it on. You can leave it in or lightly rinse with cool water, depending on your preference.
Conventional Products vs. This DIY Ayurvedic-Inspired Hair Oil
Here is a quick side-by-side comparison:
| Aspect | Conventional Hair Products | DIY Ayurvedic-Inspired Hair Oil Recipe |
|---|---|---|
| Key ingredients | Often synthetic or highly processed | Natural, kitchen-based ingredients with multiple benefits |
| Scalp focus | May ignore scalp health | Designed to nourish and comfort the scalp |
| Sensitivity | Can cause dryness or irritation for some | Gentle, customizable, and easy to adjust |
| Cost over time | Repeated, often expensive purchases | Budget-friendly once you have the core ingredients |
| Customization | Fixed formulas | You can tweak oils, herbs, and strengths to suit your hair type |
| Ritual & mindset | Quick, transactional | Relaxing self-care ritual that can reduce stress around hair loss |
Progress Over Time: What to Expect from Regular Use
People who stick with a consistent routine using this kind of natural hair oil often report:
- Gradual reduction in visible shedding
- The appearance of fine “baby hairs” along the hairline
- Improved softness, shine, and manageability
- A calmer, less irritated scalp
The key is patience and regular use. Natural approaches rarely offer overnight changes, but meaningful shifts can build over weeks and months. If you feel stuck or discouraged with your current routine, gathering these simple ingredients and committing to a once-a-week ritual can be a powerful first step.
FAQ About This DIY Ayurvedic-Inspired Hair Oil Recipe
How often should I use this DIY Ayurvedic-inspired hair oil?
Most people do well applying the oil 1–2 times per week. This frequency offers potential support without overloading the scalp or making hair excessively greasy. The herbal rinse can be used after each wash, whether or not you oiled beforehand.
How long does it take to notice changes?
Experiences vary, but many people begin to notice improvements in scalp comfort and hair texture within 4–6 weeks of consistent use. Visible changes in density or reduced shedding may take several months.
Can I adjust the recipe for my hair type?
Yes. You can:
- Use more coconut oil if your hair tolerates heavier oils.
- Increase almond or add jojoba oil if your hair is fine or easily weighed down.
- Reduce the amount of onion or ginger if your scalp is very sensitive.
Does this replace medical treatment?
No. This DIY Ayurvedic-inspired hair oil is a supportive, home-based ritual, not a medical treatment. If you have sudden or severe hair loss, underlying health conditions, or scalp disorders, consult a qualified healthcare professional or dermatologist for personalized guidance.