A Simple Homemade Aloe Vera and Coconut Oil Cream for Dry Skin
As skin changes over time, it can become drier, tighter, and less resilient. Shopping for the right skincare product often turns into an expensive cycle of trial and error, especially when many formulas contain long ingredient lists and harsh additives. That is why more people are choosing simple, natural skincare they can make at home with familiar ingredients from the kitchen or garden. Even better, this cream can easily become a calming part of your nighttime routine with one easy bedtime tip shared below.
Why Aloe Vera and Coconut Oil Work So Well Together
Aloe vera has long been valued in traditional skincare for its cooling, soothing gel and light feel on the skin. Coconut oil is very different in texture, offering a rich and deeply moisturizing base that helps reduce dryness by sealing in hydration. When used together in a balanced way, these two ingredients can help skin feel more comfortable, soft, and nourished.
One major reason DIY skincare fans love this combination is the level of control it offers. You decide exactly what goes into the jar, which makes it easier to avoid unnecessary fillers, preservatives, or artificial fragrances.
The finished cream has a smooth, easy-to-apply texture that feels indulgent without being overpowering. Aloe brings freshness and a light touch, while coconut oil adds softness and moisture. It is not a miracle cure, but it is a gentle and practical way to care for your skin using everyday ingredients.

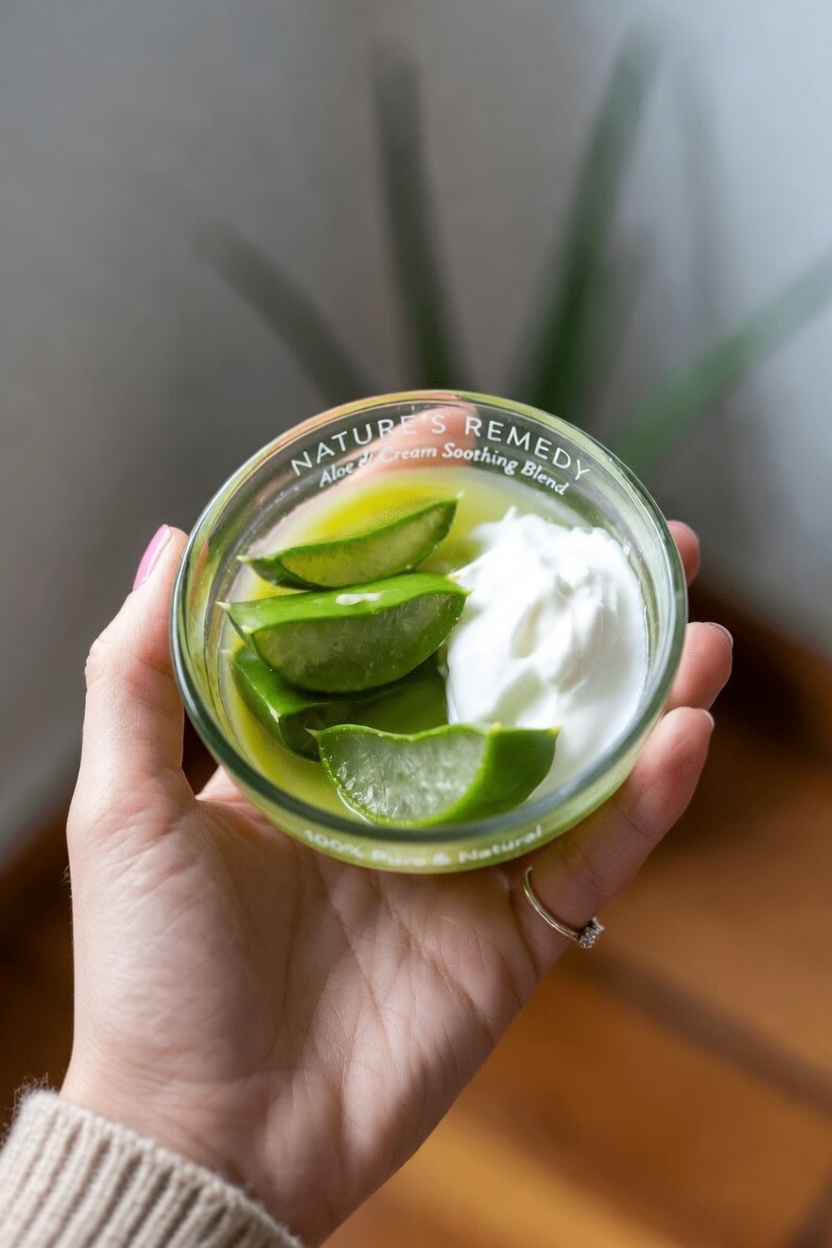
Ingredients for Homemade Aloe Vera and Coconut Cream
This recipe is quick to prepare, budget-friendly, and made with just a few basic items. Here is what you need:
-
1/2 cup fresh aloe vera gel
Use gel scooped from a mature aloe leaf or a high-quality pure store-bought version. -
1/4 cup organic coconut oil
Solid coconut oil works best for a creamy texture. -
1 tablespoon beeswax pellets
Optional, but useful if you want a thicker and firmer cream. -
5 to 10 drops of essential oil
Optional choices include lavender or tea tree for a mild natural scent. -
1 small glass jar
Use it to store the finished cream.
This amount usually provides enough product for about two to three weeks. For the best outcome, choose pure and high-quality ingredients.
How to Make the Cream Step by Step
This homemade moisturizer comes together in under 30 minutes and feels surprisingly satisfying to make. Follow these steps:
-
Clean everything first
Wash your hands, utensils, and container well before you begin. -
Prepare the aloe vera
If you are using a fresh leaf, slice it open lengthwise and scoop out the clear inner gel with a spoon. Discard the yellow latex portion. -
Melt the coconut oil and beeswax
Place them in a double boiler or a microwave-safe bowl. Heat gently on low until fully melted and smooth. This usually takes about 2 to 3 minutes. -
Let the mixture cool slightly
Remove it from the heat and leave it to cool for around 5 minutes. -
Add the aloe vera gel
Slowly whisk or blend the aloe into the warm oil mixture until it forms a creamy emulsion. -
Include essential oils if desired
Stir thoroughly so the scent is evenly distributed. -
Transfer to the jar
Pour the mixture into your clean glass container while it is still warm. -
Allow it to set
Let the cream cool at room temperature, or place it in the refrigerator for about 30 minutes until it firms up.
A useful trick many people overlook is whipping the mixture gently with a fork once it starts to thicken. This can create a lighter, fluffier texture that feels more like a commercial lotion.
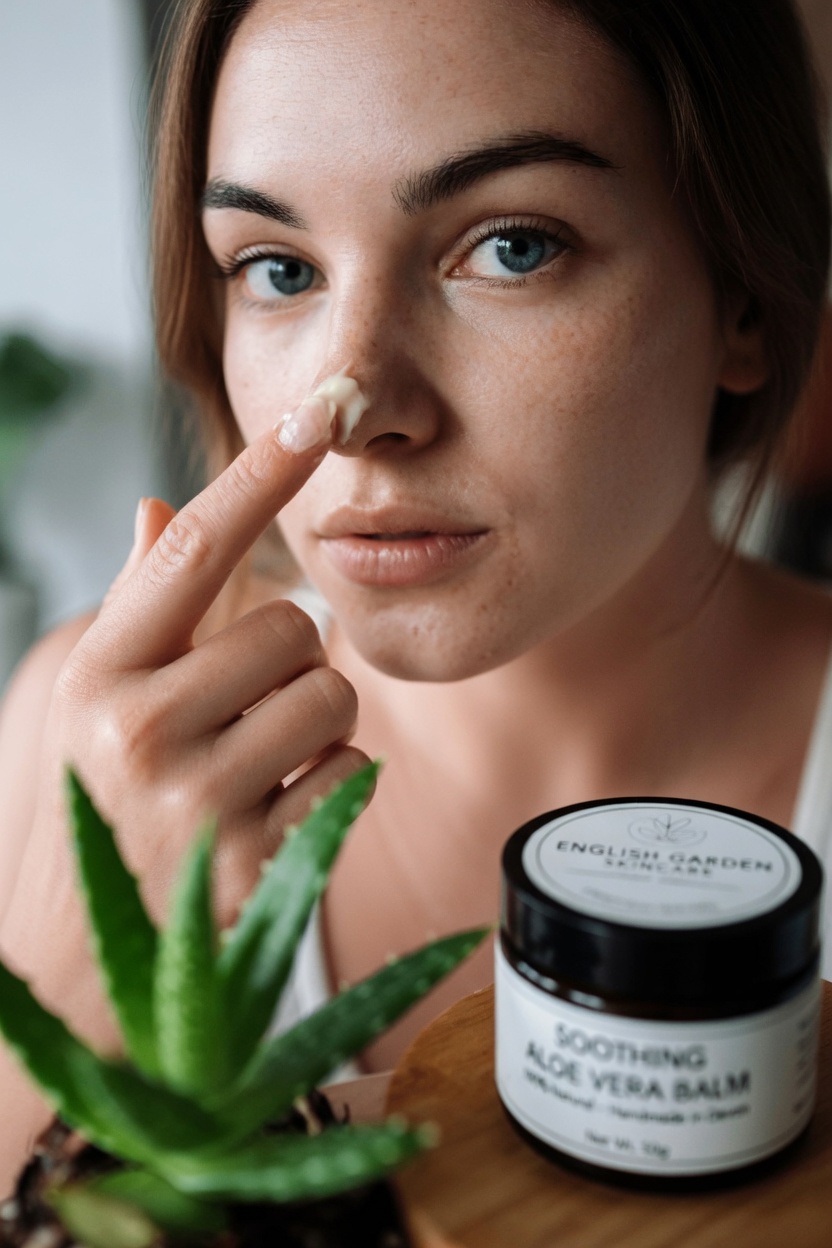
How to Use This DIY Moisturizer Every Day
Once you start using it regularly, this cream can become a soothing part of your skincare routine. Most people only need a pea-sized amount on clean skin after washing the face or after a shower. Massage it in using gentle circular motions and let your body heat soften the coconut oil as it absorbs.
For better hydration, apply it to slightly damp skin. This helps trap moisture more effectively. You can use it in the morning and evening, or apply it during the day to rougher spots such as:
- Elbows
- Knees
- Hands
- Dry patches on the body
To make the experience safer and more enjoyable, keep these tips in mind:
- Do a patch test first on the inside of your arm and wait 24 hours.
- Store the jar in a cool, dark place. Refrigeration can help it stay fresh longer.
- Use clean fingers or a small spatula each time to keep bacteria out.
A favorite tip for many users is applying a thin layer just before bed. Overnight use gives the cream time to sit on the skin while you rest, and the soft coconut scent may add a calming feel to your evening wind-down.
Homemade Cream vs. Store-Bought Moisturizer
If you are wondering how this DIY skincare recipe compares to a standard moisturizer, here is a simple breakdown:
| Aspect | Homemade Aloe Vera & Coconut Cream | Typical Store-Bought Moisturizer |
|---|---|---|
| Cost per use | Under $1 | $2 to $5 |
| Ingredient control | You choose every ingredient | Formula is pre-made |
| Texture | Can be adjusted from light to firm | Usually fixed |
| Freshness | Freshly made, lasts 2–3 weeks refrigerated | Longer shelf life due to preservatives |
| Scent | Natural and customizable | Often contains synthetic fragrance |
This side-by-side comparison highlights why many people like the homemade version. It is simple, transparent, and easy to customize.
Easy Ways to Customize the Recipe
One of the biggest advantages of homemade skincare is flexibility. You can adjust the recipe based on your preferences and skin needs. For example:
- Add 1 teaspoon of vitamin E oil for extra softness.
- Skip the beeswax if you want a lighter, more gel-like texture.
- Reduce the coconut oil and increase the aloe if the cream feels too heavy.
When experimenting, do so carefully. A few common mistakes can affect the final texture:
- Overheating the oil mixture may cause separation.
- Adding aloe too soon before the mixture cools can also affect consistency.
- Using unclean tools may shorten shelf life.
Another helpful tip is to write the date you made the cream on the jar. That small habit makes it easier to track freshness and stay organized.
Final Thoughts on This Natural Skincare Routine
Making your own aloe vera and coconut oil cream is a simple and satisfying way to care for your skin with ingredients you recognize and trust. The process is easy, the texture feels luxurious, and the routine is simple to maintain. Try using it for a couple of weeks and see how naturally it fits into your day.
Keep in mind that skincare is highly individual. What feels perfect for one person may need a few small adjustments for someone else. This recipe is a great starting point for creating a personalized, natural skincare ritual at your own pace.
FAQ About Aloe Vera and Coconut Oil Cream
Can I use this homemade cream every day?
Yes, many people use it daily on both the face and body without issues. Still, it is best to begin gradually and pay attention to how your skin responds.
How long will the cream stay fresh?
When stored in the refrigerator, it usually remains good for 2 to 3 weeks. If you keep it at room temperature, try to use it within 7 to 10 days.
Is it good for sensitive skin?
A lot of people with sensitive skin tolerate it well, but a patch test is essential. If you have very reactive skin or plan to use essential oils, it is wise to speak with a dermatologist first.
Important Disclaimer
This content is provided for informational purposes only and should not be considered medical advice. Always consult a dermatologist before trying new skincare products, especially if you have sensitive skin, allergies, or existing skin conditions. Perform a patch test before full use, and stop using the product if irritation develops.